“
Introduction: How to Set Up Email on Apple iPhone
How to Set Up Email on Apple iPhone? Nowadays, an email account is indispensable for both personal and professional needs. It’s a crucial tool for communication, file sharing, and even social media account setup. If you’re an Apple iPhone user, you might be wondering how to set up an email on your device. Having your email directly on your phone allows for easy access and instant notifications of new messages. This guide will walk you through the process of setting up your email on your Apple iPhone, ensuring you stay connected wherever you go.
Setting up an email on an Apple iPhone is a straightforward process that anyone can do, regardless of technical know-how. Whether you’re using a popular email service like Gmail, Yahoo, or a company-specific account, the setup process remains largely the same. In the following sections, we will be providing a step-by-step guide on how to set up an email on your Apple iPhone. From locating the settings to finalizing your account, we’ll cover every detail to ensure you have a smooth setup process.”
Choosing the Right Email Provider for Your Apple iPhone
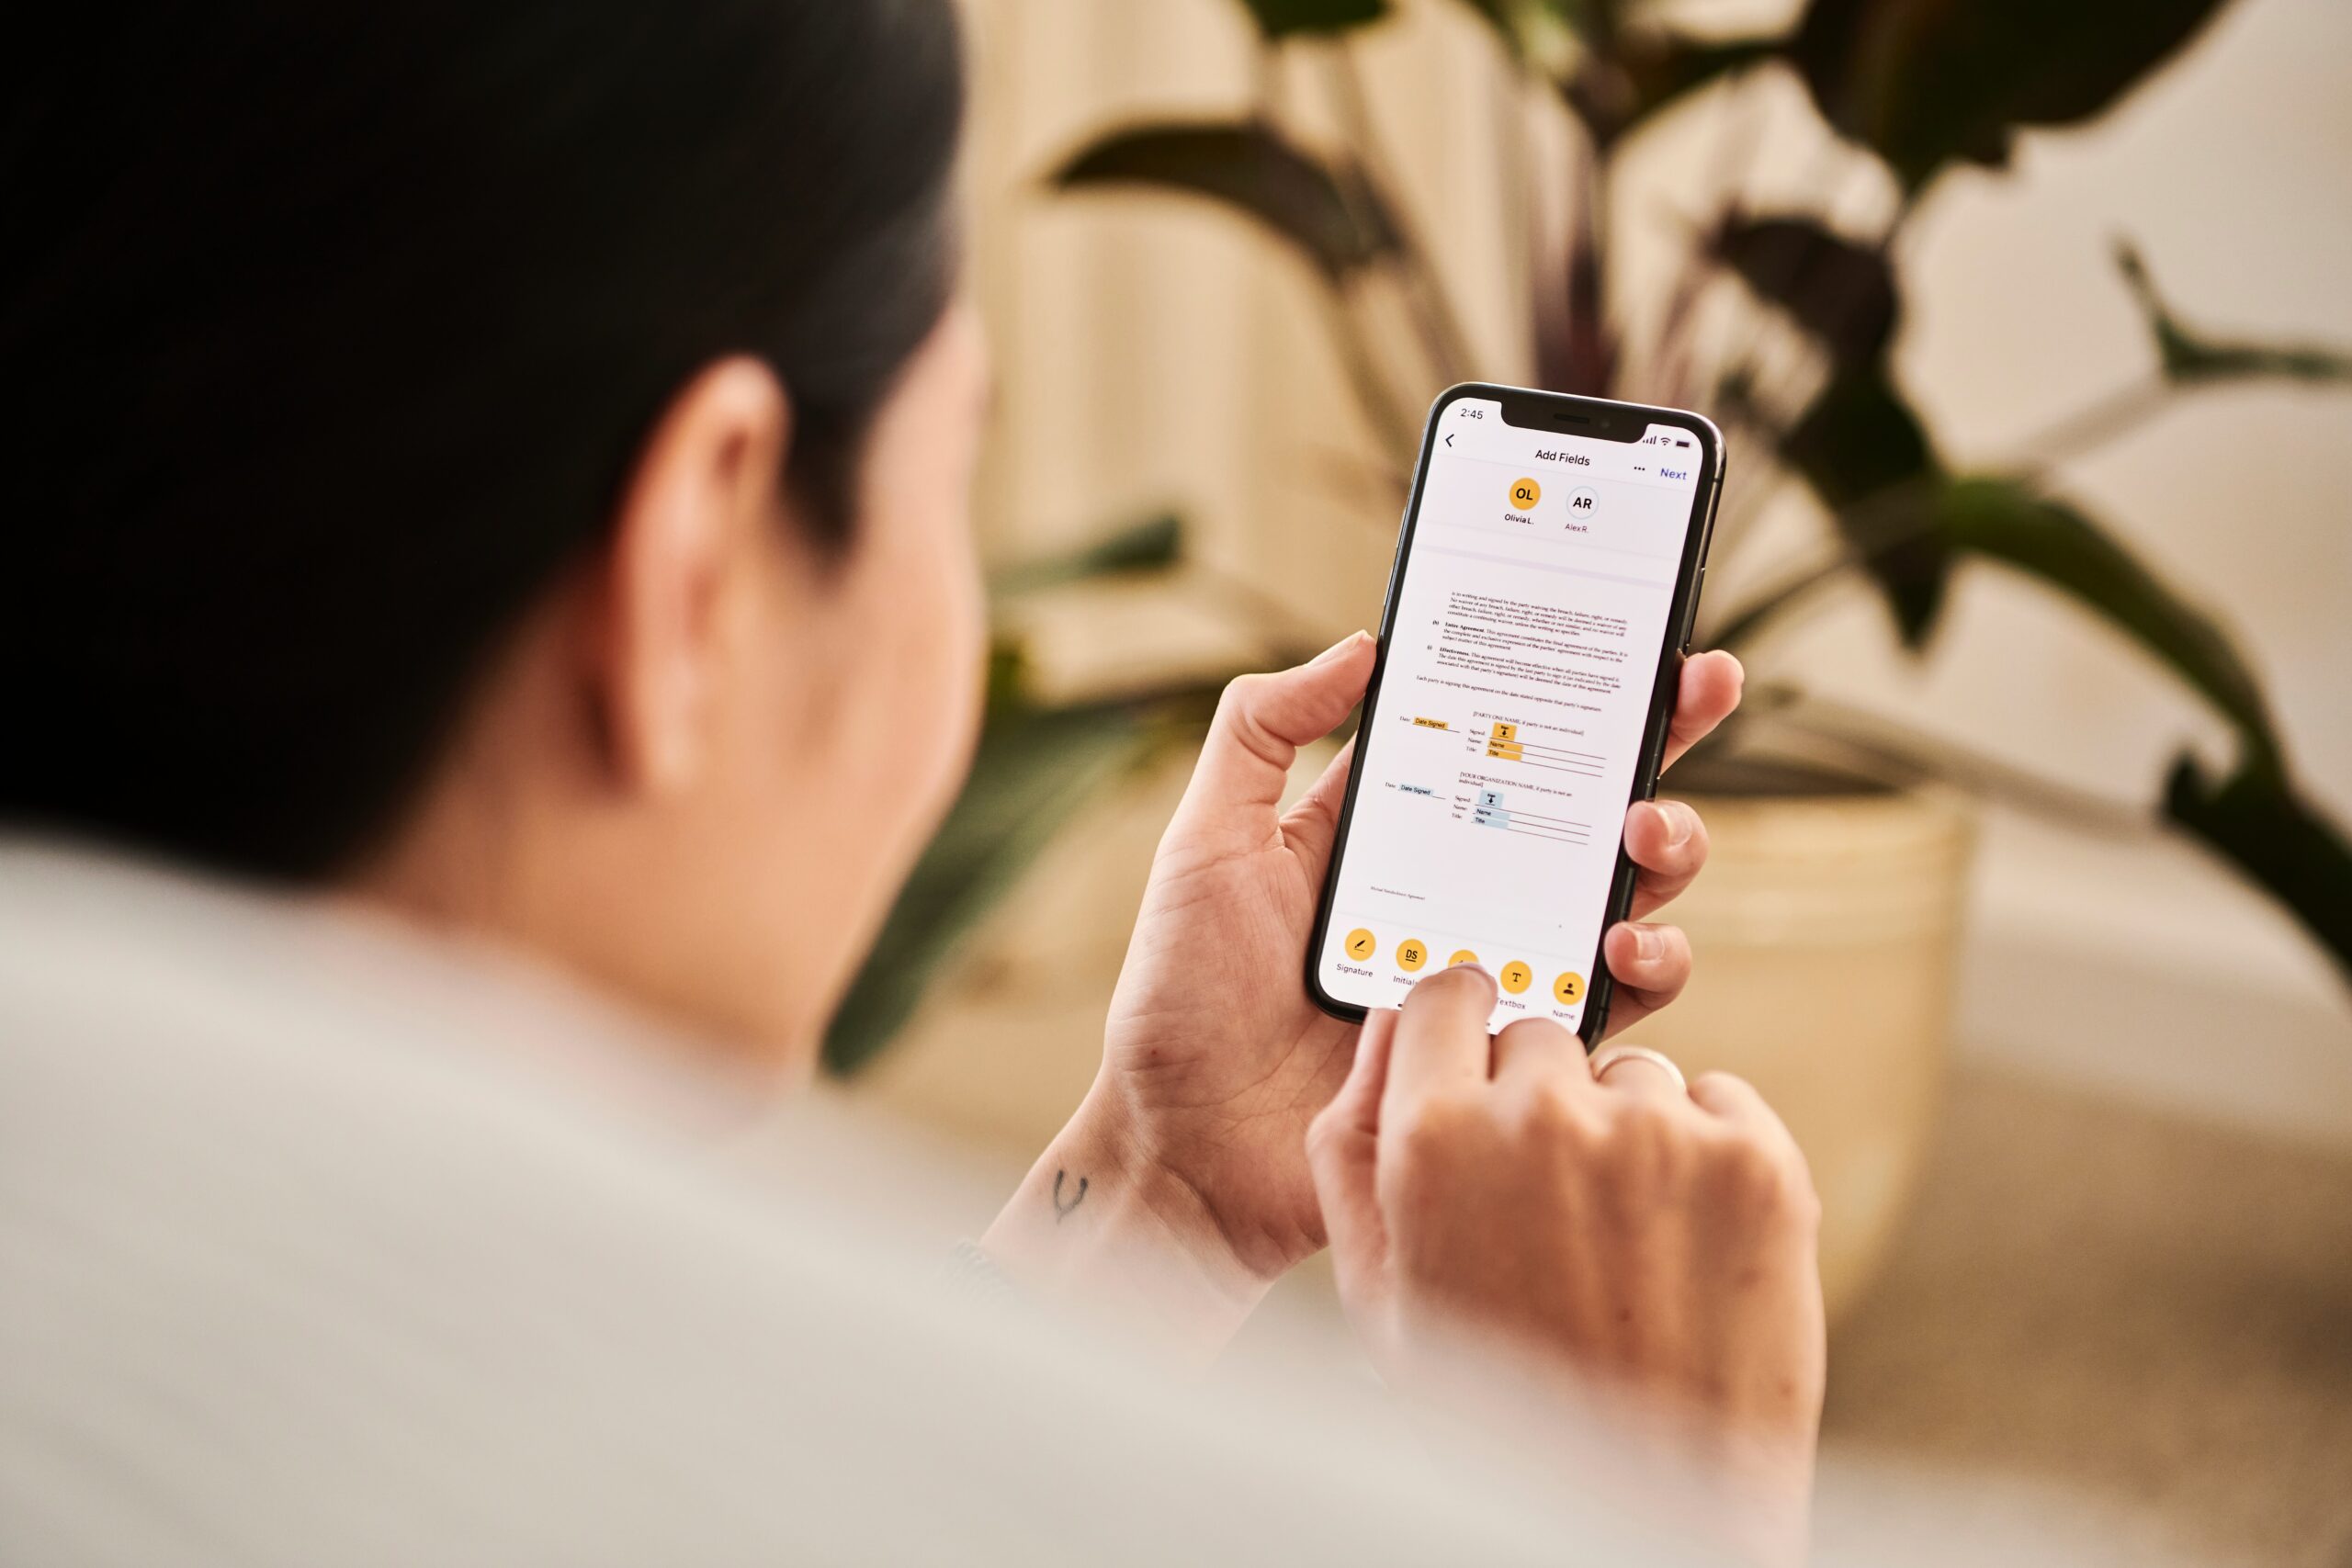
In the digital era, having the right email provider for your Apple iPhone is a crucial aspect of ensuring smooth and efficient communication. It’s a decision that hinges on several factors, including security, storage, interface, and compatibility. When selecting an email provider, prioritize one that offers two-step verification to safeguard your personal information. Consider also the amount of storage provided; an ideal provider should offer ample space to accommodate your emails, attachments, and files.
The email provider’s interface should be user-friendly and compatible with your iPhone, enabling you to navigate easily and perform tasks efficiently. In addition, the provider should support IMAP (Internet Message Access Protocol) to allow for seamless synchronization between your iPhone and other devices. Ultimately, choosing the right email provider for your Apple iPhone is a balance of these factors, tailored to your specific needs and preferences.
Detailed Guide: How to Set Up Gmail on Your iPhone
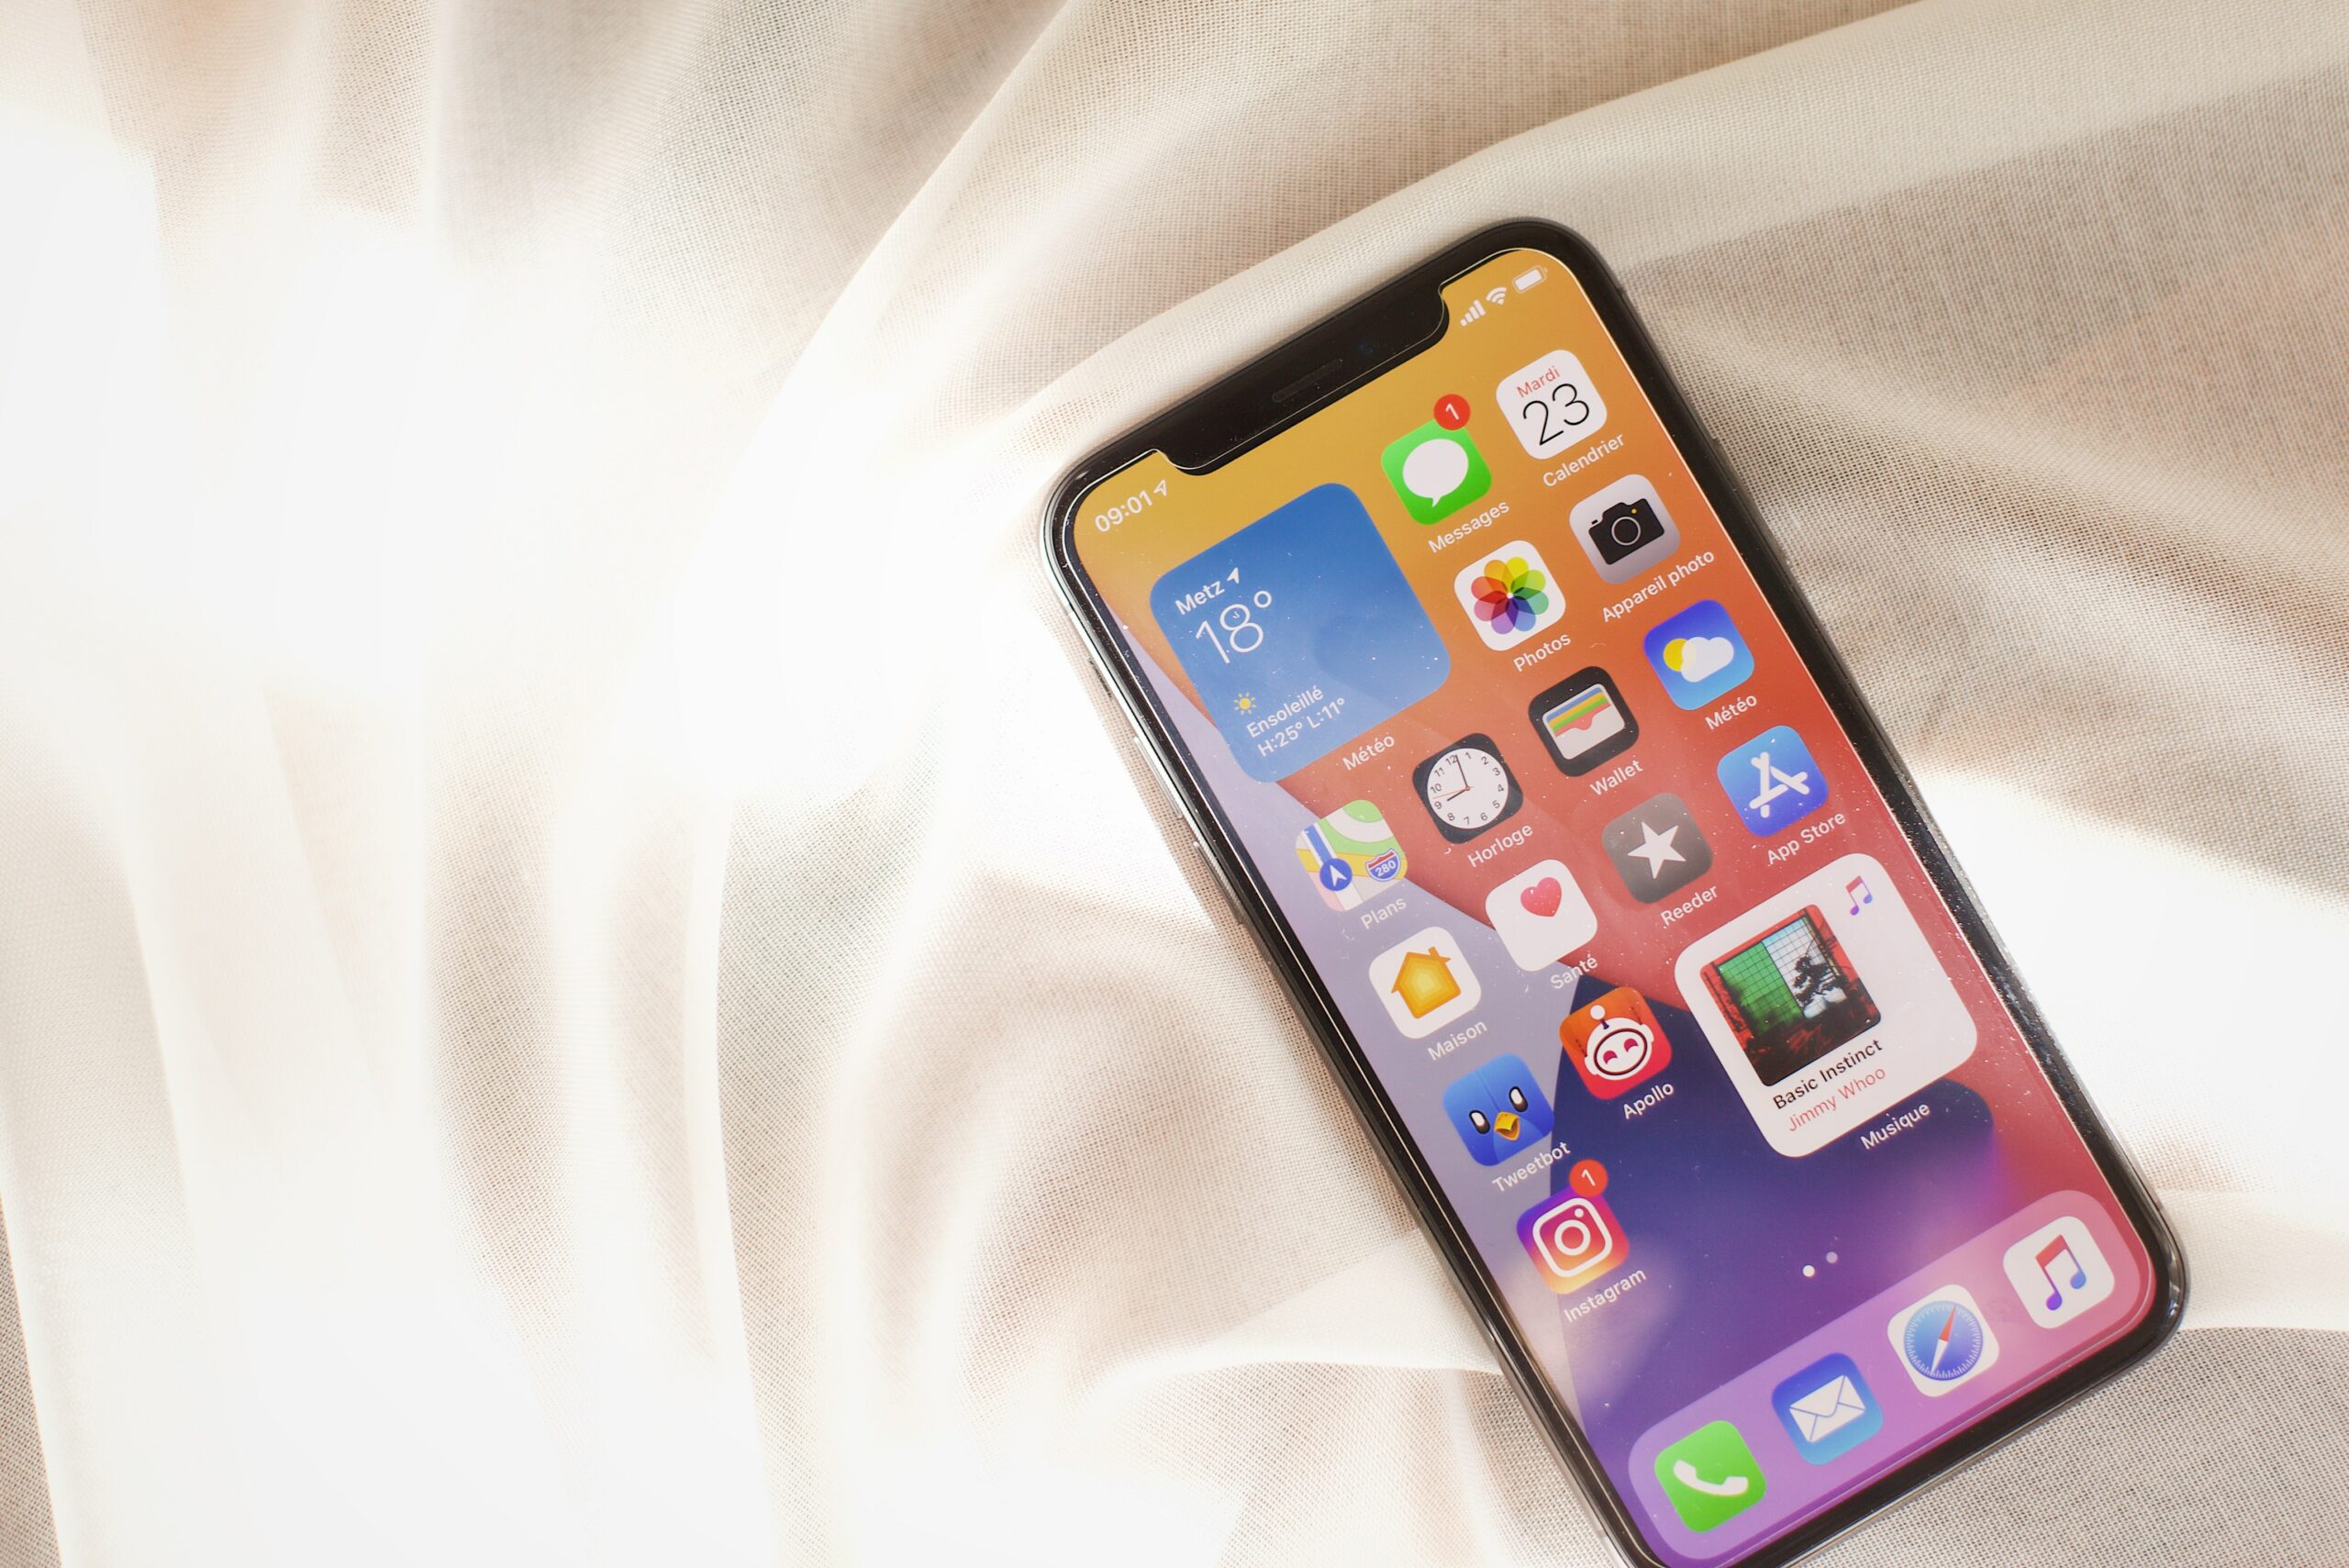
Setting up Gmail on your iPhone is a simple process that anyone can complete with the right guidance. First, ensure your iPhone is connected to the internet, either through Wi-Fi or cellular data. Then, open the ‘Settings’ app on your iPhone, scroll down and tap ‘Mail’, followed by ‘Accounts’. Click ‘Add Account’ and select ‘Google’. You’ll be prompted to enter your Gmail email address and password.
After inputting your Gmail credentials, the system will validate your details. Once validation is successful, you’ll see switches for mail, contacts, calendars, and notes. Toggle on the switches for the services you want to sync with your iPhone. Tap ‘Save’, and you’re all set! Your Gmail account is now set up on your iPhone. This detailed guide ensures a smooth setup process, making it easy for you to access your Gmail account from your iPhone at any time.
How to Set Up Outlook Email on Your Apple iPhone
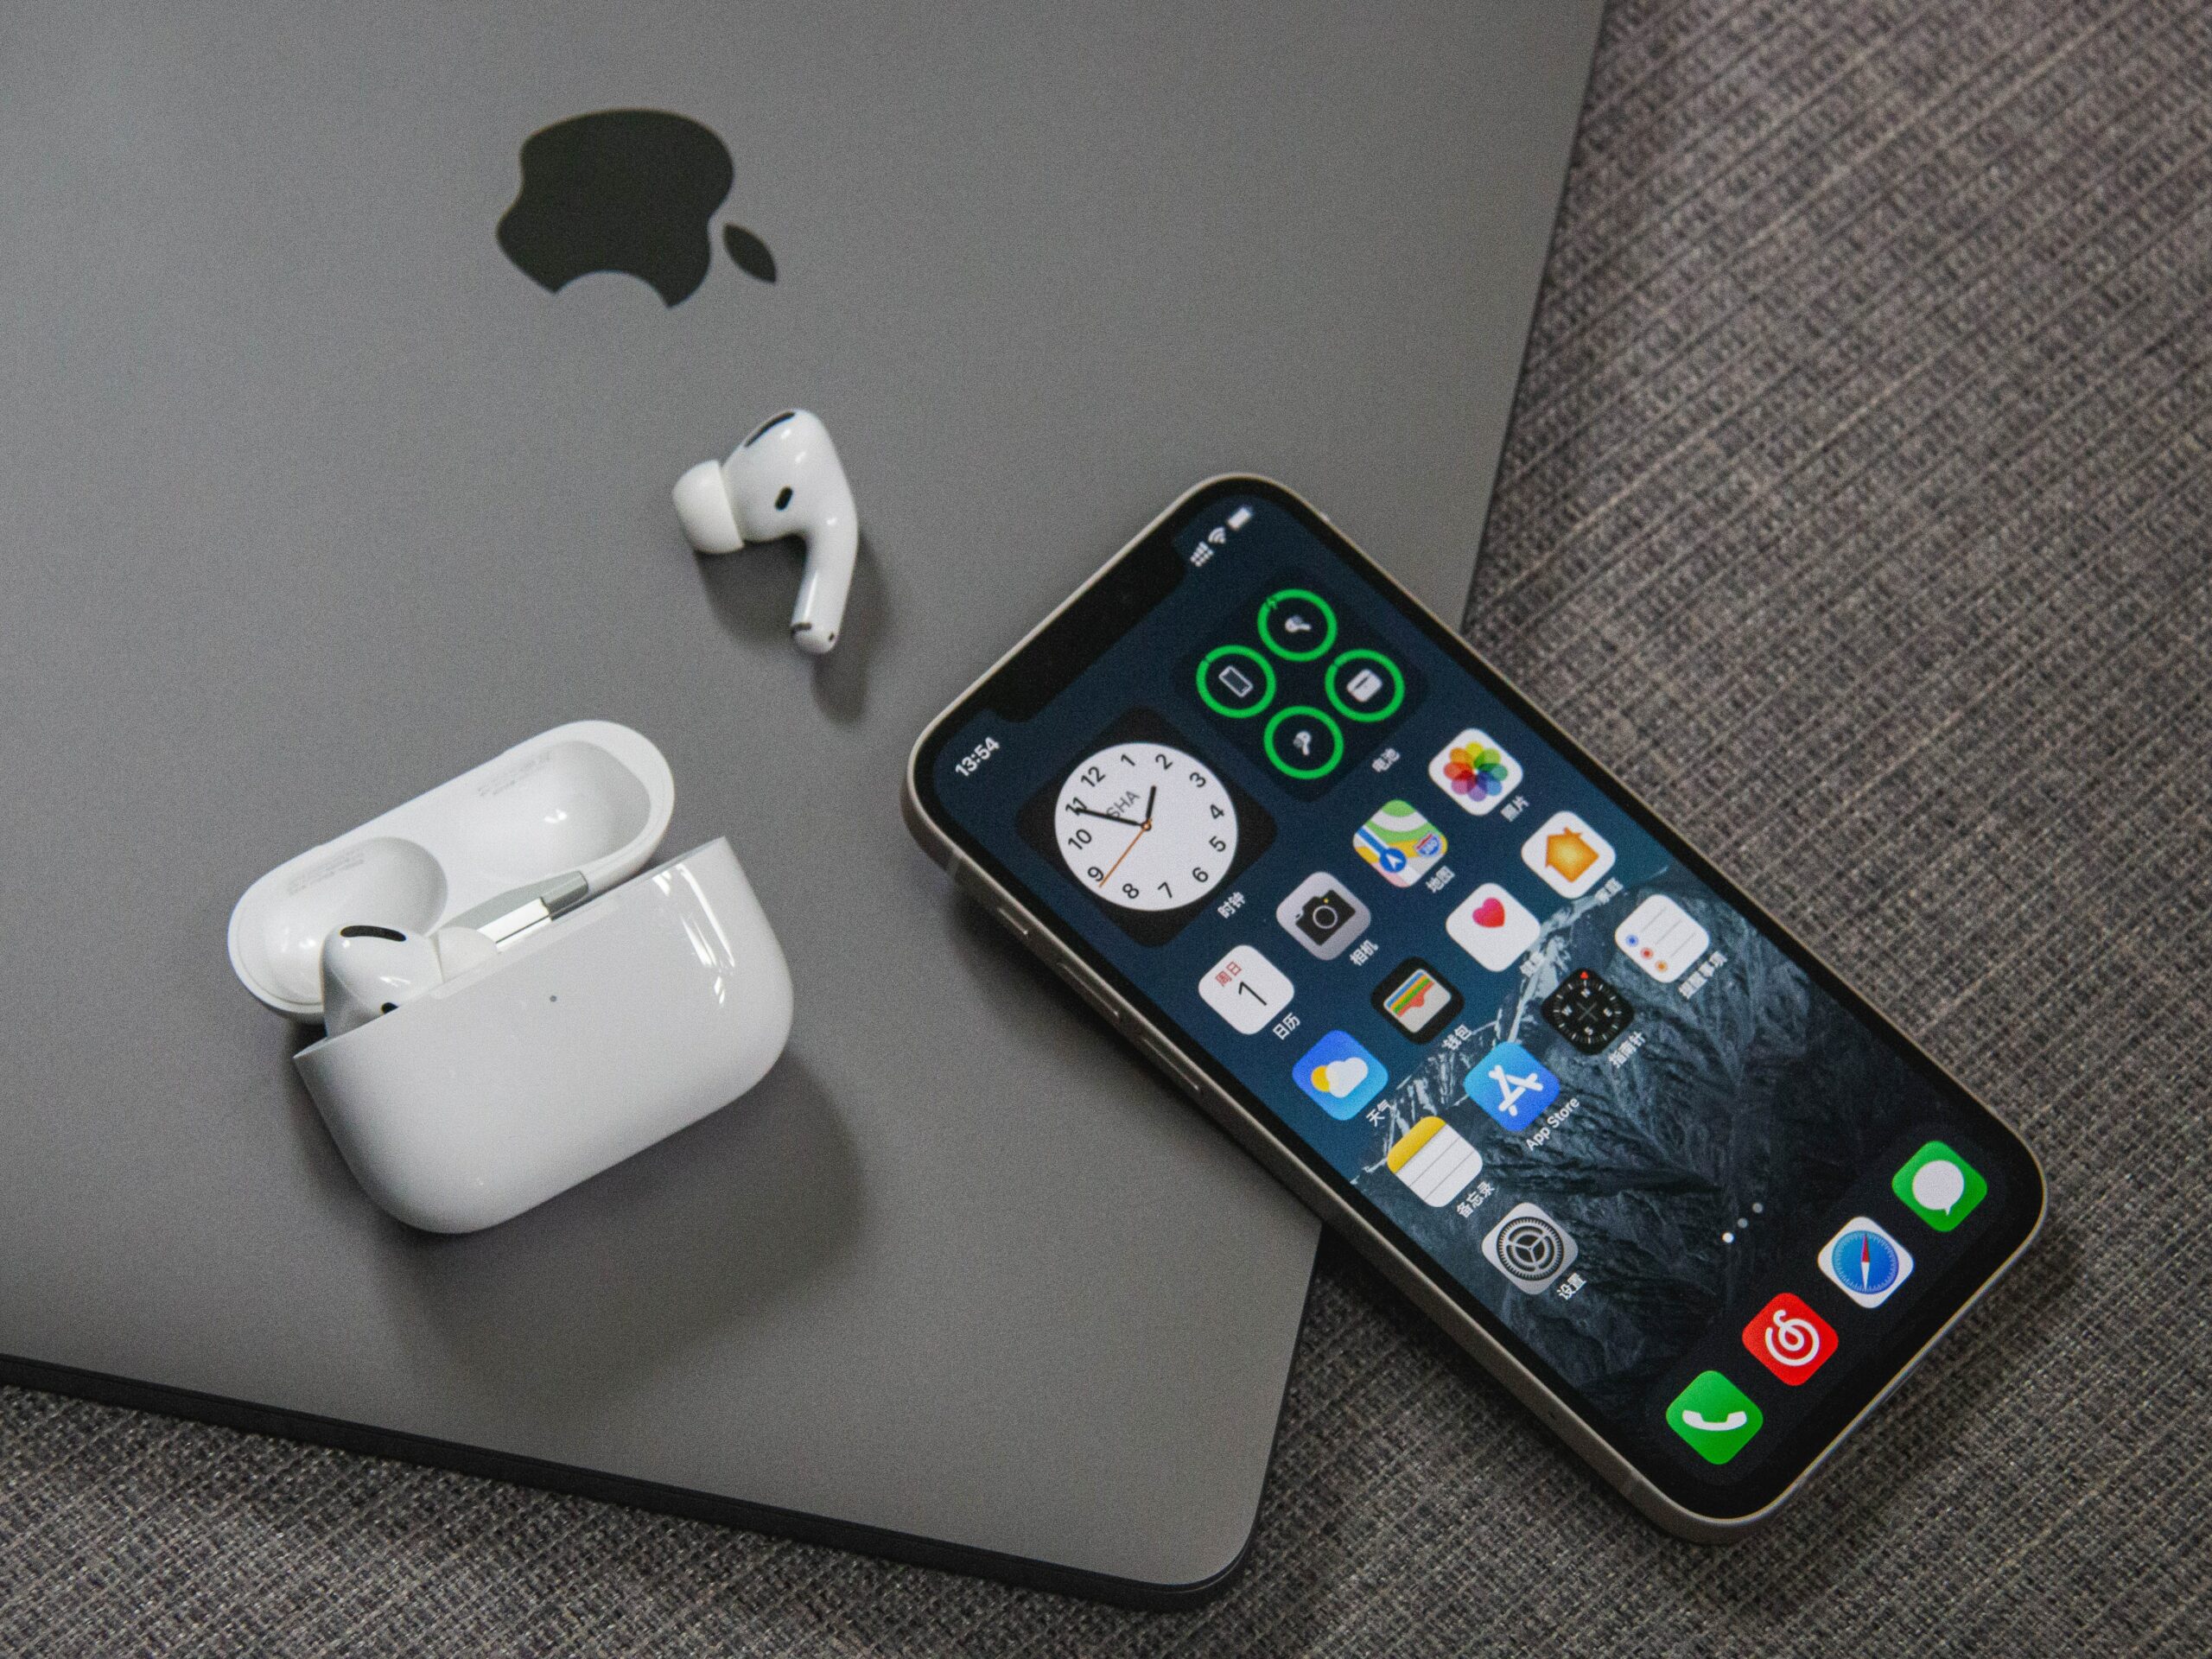
Setting up your Outlook email on your Apple iPhone is a straightforward task. Start by opening the “”Settings”” app on your iPhone. Scroll down to find and select “”Passwords & Accounts””, then tap “”Add Account””. From the list of email providers, choose “”Outlook.com””. You’ll then be prompted to enter your Outlook email address and password. After inputting your details, tap “”Next””.
Your iPhone will then verify your Outlook credentials. Once verified, you’ll be given the option to choose what Outlook data you want to sync with your iPhone. These options typically include Mail, Contacts, Calendars, and Reminders. Make your selections and tap “”Save””. Congratulations, you’ve successfully set up your Outlook email on your Apple iPhone. This process ensures seamless access to your emails, making communication more efficient. Don’t forget, your Outlook data will update across all synced devices whenever you make any changes.
Tips and Tricks for Setting Up Yahoo Mail on Your iPhone
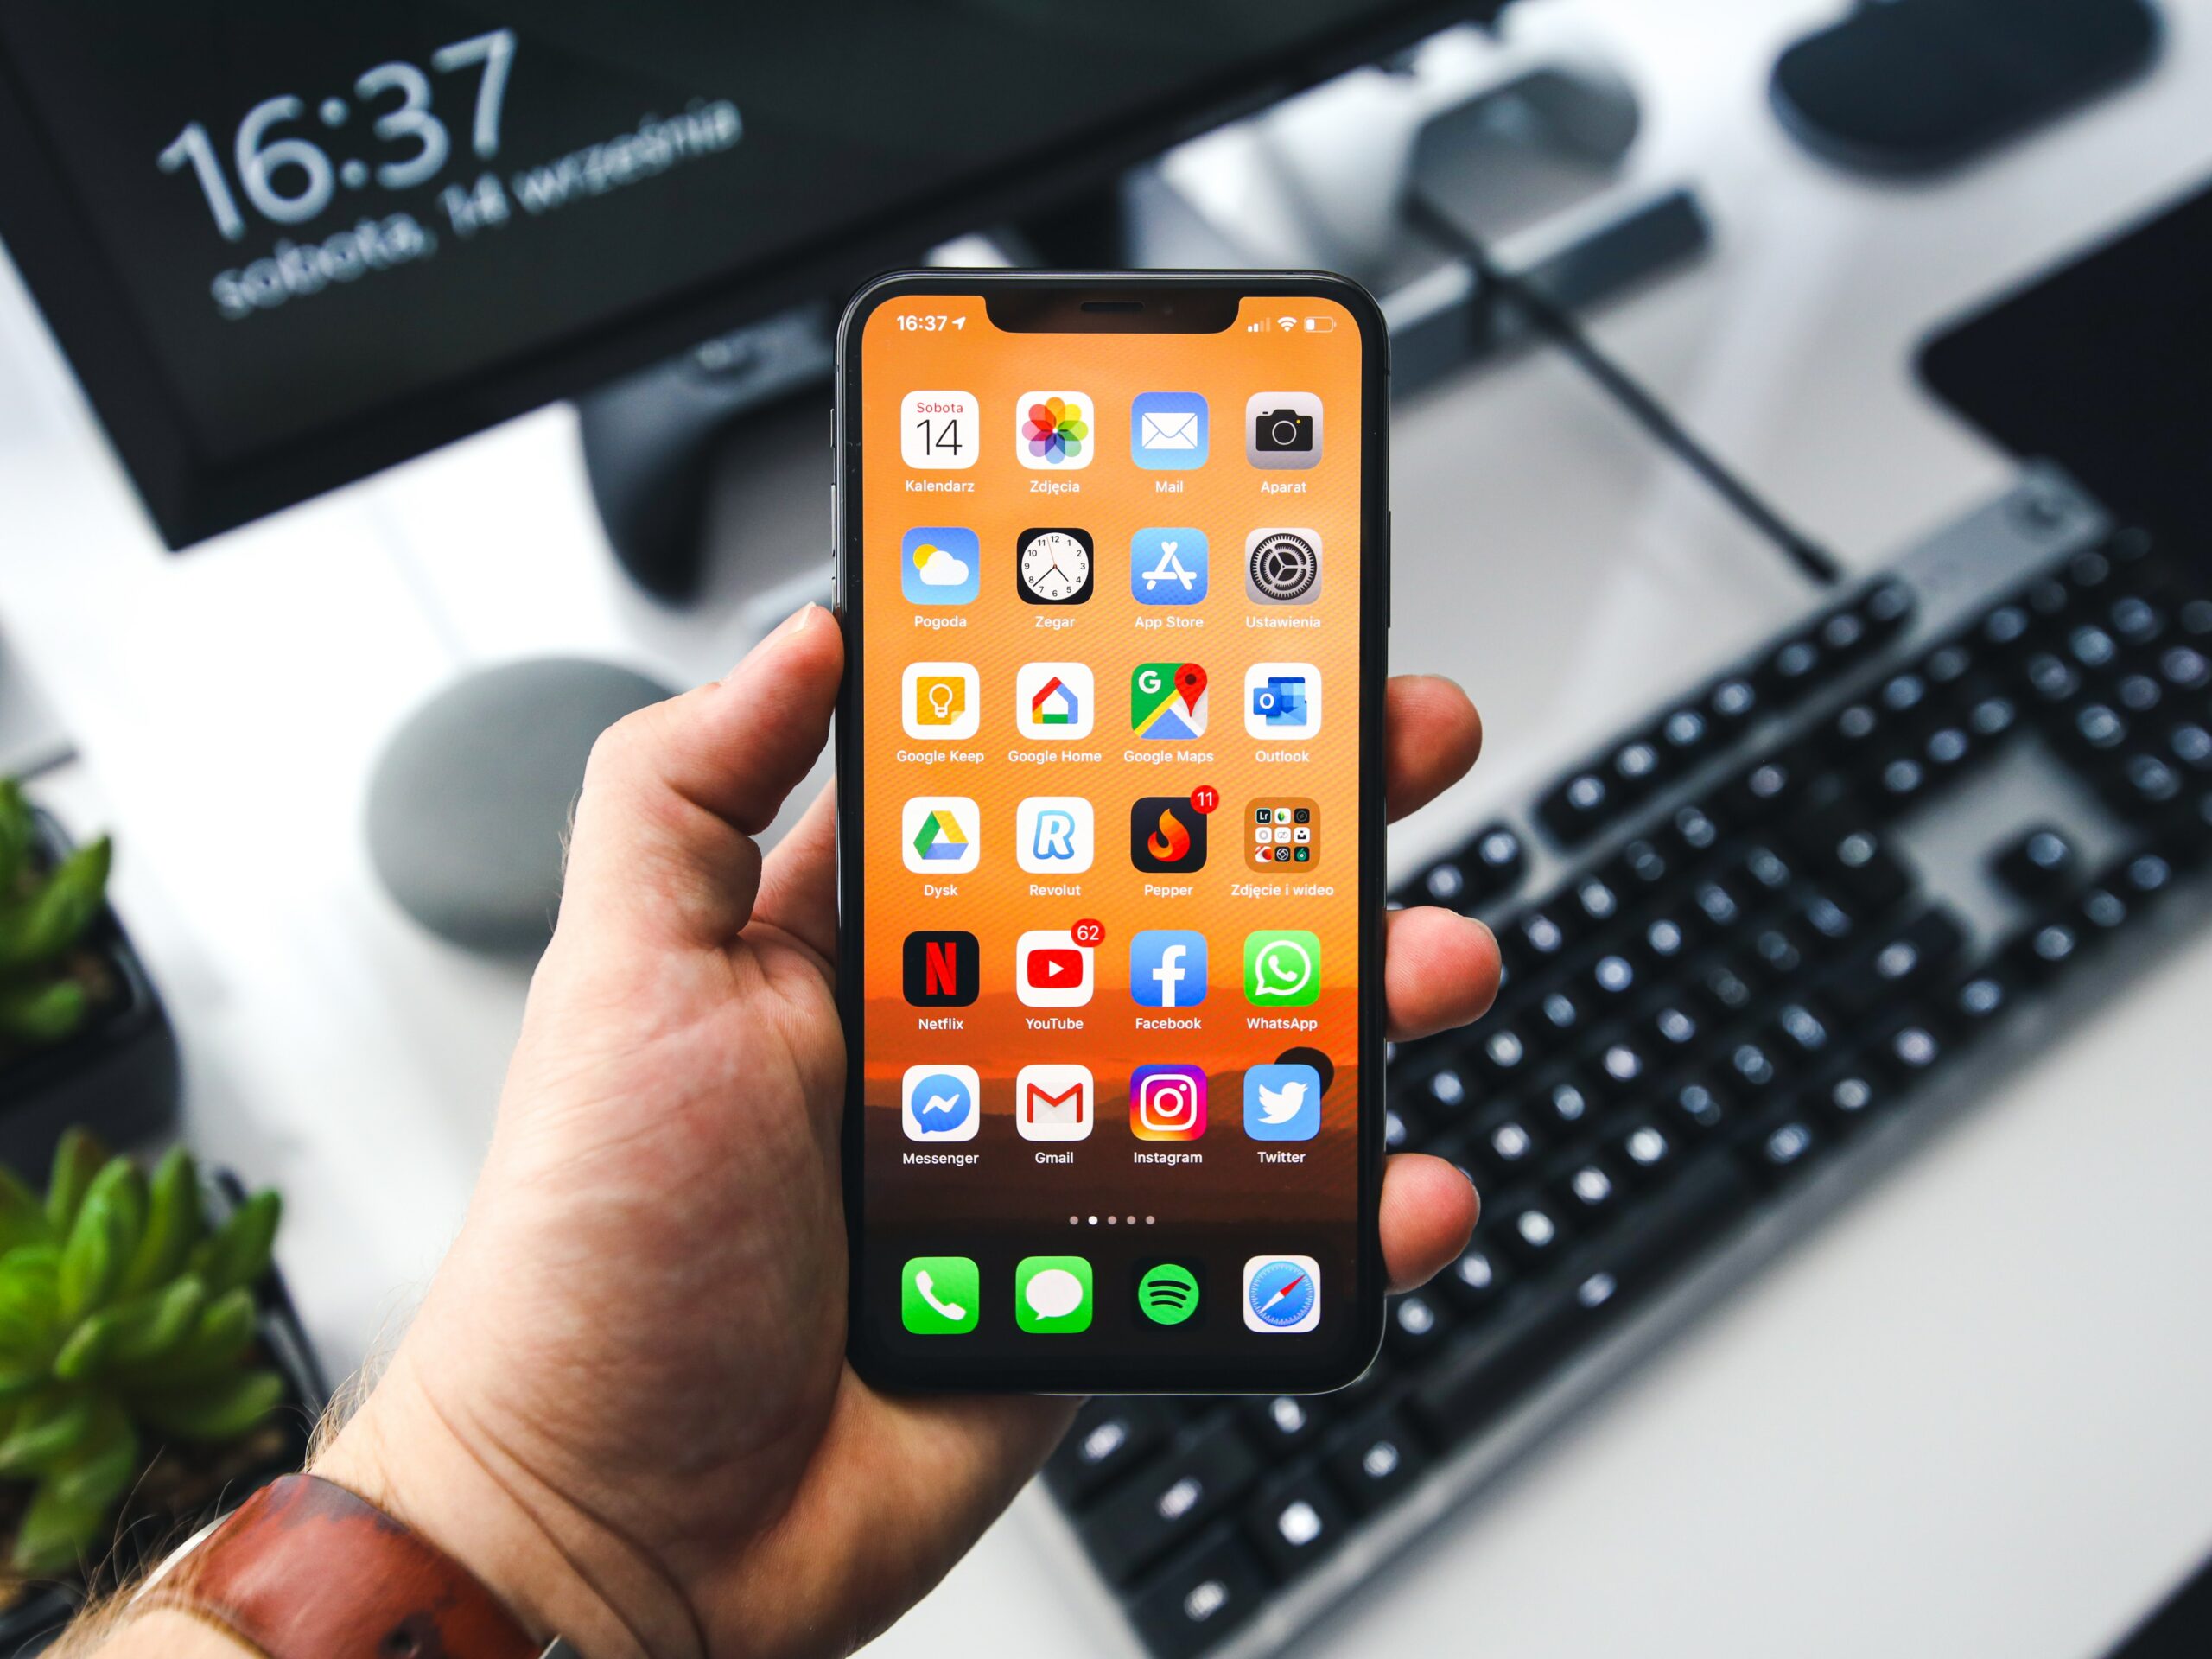
Are you struggling to set up Yahoo Mail on your iPhone? Don’t worry, we’ve got you covered with a series of tips and tricks to make the process seamless. First, you need to open the iPhone’s settings and scroll down to “”Mail.”” Click on “”Accounts,”” then “”Add Account,”” and select “”Yahoo.”” Key in your Yahoo Mail credentials and click “”Sign In.”” Don’t forget to enable the “”Mail”” toggle before clicking “”Save”” to ensure your Yahoo Mail syncs with your iPhone.
Moreover, if you experience difficulties in receiving mail, ensure the “”Fetch New Data”” setting is on. You can find this under “”Settings,”” “”Mail,”” then “”Accounts.”” A common trick is to set it to “”Automatically,”” which pushes new emails to your iPhone instantly. For issues with sending mail, double-check your SMTP settings. Navigate to “”Settings,”” “”Mail,”” “”Accounts,”” “”Yahoo,”” “”Account,”” “”Outgoing Mail Server,”” and ensure the primary server is on. These tips and tricks for setting up Yahoo Mail on your iPhone should help you maximize your email efficiency.
Troubleshooting Common Problems When Setting Up Email on iPhone
Setting up email on your iPhone can sometimes hit a few snags that frustrate even the most tech-savvy individuals. From incorrect IMAP or POP3 settings to wrong SMTP configurations, the issues can be diverse. Yet, understanding and troubleshooting common problems when setting up email on iPhone is not as complex as it might seem.
Firstly, check your internet connection as it is the backbone of email operations on your iPhone. Incorrect password input is another common issue, so always ensure you have the right credentials. If your iPhone can’t connect to the email server, recheck your server settings. For cases where you can’t send or receive emails, scrutinizing your SMTP server settings can help. Remember, issues with SSL settings or port numbers can also disrupt your email functionality. By understanding these common problems, troubleshooting your iPhone email setup becomes a breeze.
How to Manage Multiple Email Accounts on Your iPhone
Managing multiple email accounts on your iPhone is no longer a daunting task, thanks to the in-built Mail app. The first step is to open the “”Settings”” app on your iPhone. Scroll down and tap on “”Mail””, then tap “”Accounts””, followed by “”Add Account””. Now, select your email provider and enter your email address and password to add your account. Repeat this process for all your email accounts. Once done, you can easily switch between your email accounts directly from the Mail app.
To ensure that you don’t miss any important emails, it’s crucial to set your preferred email as the default one. To do this, go back to “”Settings””, tap on “”Mail”” and then “”Default Account””. Select the email account you want to set as default. Remember, your iPhone will use this account whenever you send an email unless you manually select a different one. Also, you can organize your emails better by using the “”VIP”” feature. It allows you to mark certain contacts as VIPs and their emails will automatically go into the separate VIP mailbox. This way, managing multiple email accounts on your iPhone becomes a breeze.
Conclusion: How to Set Up Email on Apple iPhone
In summing up, understanding how to set up email on Apple iPhone is a practical skill that can greatly enhance your user experience. It provides you with the convenience of accessing your emails on the go, keeping you connected and updated. Remember, the steps are straightforward: navigate to settings, add account, input your email details, and finally, customize your settings.
As we conclude, it’s worth noting that setting up email on your iPhone is not just about convenience but also about efficiency. Whether you’re using an iCloud, Exchange, Google, Yahoo, AOL, Outlook, or other email accounts, the iPhone’s intuitive interface makes the process simple and user-friendly. So, don’t hesitate to take full advantage of this feature and stay connected with your world.


